I've been making my own dehydrated meals for walking trips for a few years now. It's quite easy, but some recipes turn out better than others. My technique is...
- Cook the meal(s) in the normal way
- Lay a sheet of baking paper on an oven rack
- Spread the food thinly over the paper
- Dry in a fan-forced oven at 80°C for about 18 hours. The time varies quite a bit, and it helps to stir the food around on the baking paper periodically to break up the larger lumps. Remember that you want the food to be thoroughly dried or it may spoil with disastrous consequences
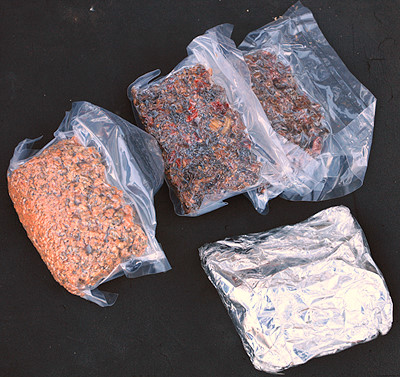
- Pack the dried meals into ziplock bags, or better yet, vacuum sealed plastic bags. My local Ainslie IGA supermarket was very obliging here - they happily vacuum sealed a bunch of meals for me for the Larapinta trip in 2010. I've also used foil pouches made from aluminium foil backed with plastic packing tape.
I've never had a bad experience with this technique, but I'm also quite conservative with my expectations about the keeping properties of the end product. I usually prepare the food a few days before a trip.